Renko already filters a lot of noise, so the “best” choice among Renko chart indicators is usually the one that adds a second opinion without clutter. On this page I focus on a small set of Renko-friendly tools for trend bias, momentum confirmation, and breakout timing, plus simple rules you can test.
Before adding indicators, make sure your chart structure is doing the heavy lifting. Renko brick size, wicks, and reversal confirmation define where real structure breaks occur. Indicators should confirm those reversals — not replace them.
Quick Picks (TL;DR)
- Trend bias + trailing: Supertrend
- Momentum confirmation: MACD
- Breakouts: Bollinger Bands (squeeze and expansion)
- Pullbacks: RSI (with a trend filter)
- Context: Moving Averages (bias and support/resistance)
Start here: tune brick size first, then add 1 indicator. Use the Renko Brick Size Calculator, the ATR Renko brick size guide, and this step-by-step walkthrough on Renko brick size backtesting in TradingView.
Thinkorswim users: standardize your chart setup before testing indicators: Renko bars in Thinkorswim setup guide.
Quick Read
- Renko first: brick size controls everything. If your bricks are too small, every indicator will look noisy.
- Pick one job per indicator: trend (Supertrend or MA), momentum (MACD), or squeeze/breakout (Bollinger).
- Use a confirm brick: after a break, wait for a Renko close beyond the level before entering. See Renko entry timing: early vs confirmed entries for a backtest comparison of early entries versus confirmed entries.
- Avoid indicator stacking: two momentum tools often “confirm” the same thing and add delay.
If you want entry and exit examples tied to Renko structure, pair this page with: Renko buy and sell signals (rules and examples).
This guide focuses on Renko chart indicators that each have one job: trend, momentum, or breakout timing.
Renko Chart Indicators Comparison Table
| Indicator | Best for | Core signal on Renko | Common pitfall | Pair it with |
|---|---|---|---|---|
| Supertrend | Trend bias and trailing exits | Flip aligns with Renko break and confirms direction | Taking every flip in ranges | Confirm brick + swing break rule |
| MACD | Momentum confirmation | Signal-line cross or zero-line reclaim with brick direction | Late entries after extended runs | Trend filter (Supertrend or MA) |
| Bollinger Bands | Squeeze and breakout timing | Squeeze then breakout brick closes beyond the band | Trading mid-band chop | MACD confirm or simple trend bias |
| RSI | Pullback strength in-trend | RSI turns up from a pullback, then confirm brick prints with trend | Countertrend trades in strong trends | Trend filter first, RSI second |
| Moving Averages | Bias and dynamic support/resistance | Price holds above/below MA, or fast/slow cross with confirm brick | Whipsaws in consolidation | Structure rules (swings, trendlines) |
Indicator Playbooks (rules you can test)
These playbooks are designed to be simple and testable. Pick one and run it for a few weeks before you change anything.
| Playbook | Indicators | Entry rule | Exit rule | Best market |
|---|---|---|---|---|
| Trend ride | Supertrend | Supertrend flips, then 1 confirm brick prints in the new direction | Exit on opposite flip or swing-based trail (1 to 2 bricks) | Clean trends |
| Pullback continuation | MA + RSI | Price stays on the trend side of the MA, RSI turns back with trend, then confirm brick prints | Exit on close back through MA or opposite swing break | Steady trending with pullbacks |
| Squeeze breakout | Bollinger + MACD | Squeeze, then breakout brick closes outside band, MACD agrees (direction and momentum) | Trail 1 to 2 bricks or exit on loss of momentum | Compression to expansion |
One rule that helps almost everything: only take indicator signals after a Renko close beyond the boundary. That one confirm brick reduces a lot of “almost breakouts.”
Supertrend
Supertrend is one of the cleanest Renko companions because it gives you a simple trend bias and a trailing exit. The key is avoiding flip-trading in ranges.
- Entry: Supertrend flips, then you get a confirm brick beyond the last swing.
- Exit: opposite flip, or trail 1 to 2 bricks behind the last swing.
- Avoid: taking every flip inside a tight range. Wait for a range break first.
If you want a full example walkthrough, see: Renko Supertrend strategy explained.
MACD
MACD works well on Renko because the bricks already smooth price action. MACD becomes a cleaner momentum confirmation tool, not a constant noise generator.
- Entry: Renko break plus MACD signal-line cross, or a zero-line reclaim in the same direction.
- Exit: opposite cross, or 1 to 2 bricks back through the last swing.
- Avoid: chasing late after a long brick run. Wait for a short pause then a confirm brick.
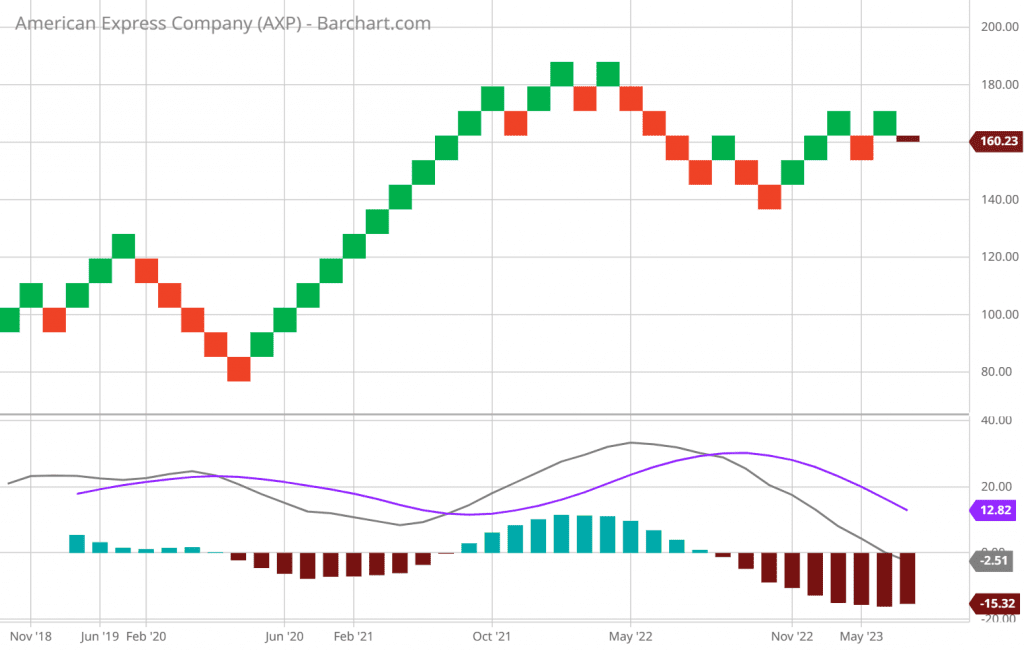
For structure-based entries that pair well with MACD, use: Renko buy and sell signal rules.
Bollinger Bands
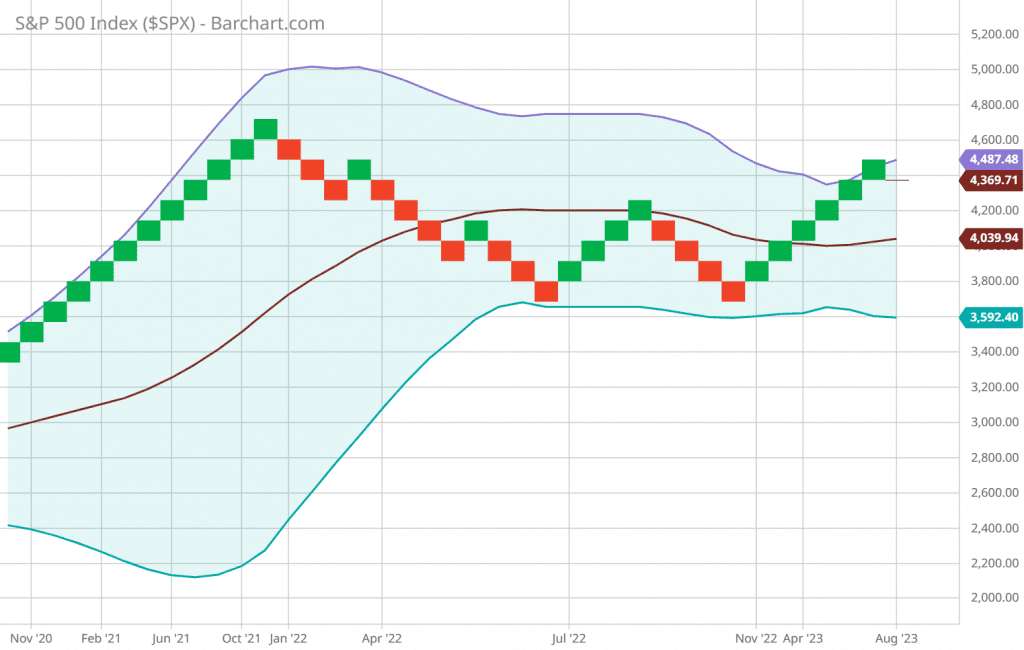
Bollinger Bands are great on Renko for spotting compression and expansion. The main mistake is trading the middle of the bands when the chart is chopping.
- Entry: look for a squeeze, then a breakout brick that closes outside the band. Prefer a confirm brick.
- Exit: trail 1 to 2 bricks. Consider partial exits on very fast expansions.
- Avoid: mid-band chop. Wait for clear compression first.
RSI
RSI is most useful on Renko as a pullback strength tool in the direction of the trend. It is less reliable as a stand-alone countertrend trigger.
- Entry: trend filter says “with trend,” RSI turns back with trend, then a confirm brick prints.
- Exit: swing-based trail or a clear momentum shift with structure break.
- Avoid: aggressive countertrend trades during strong trends.
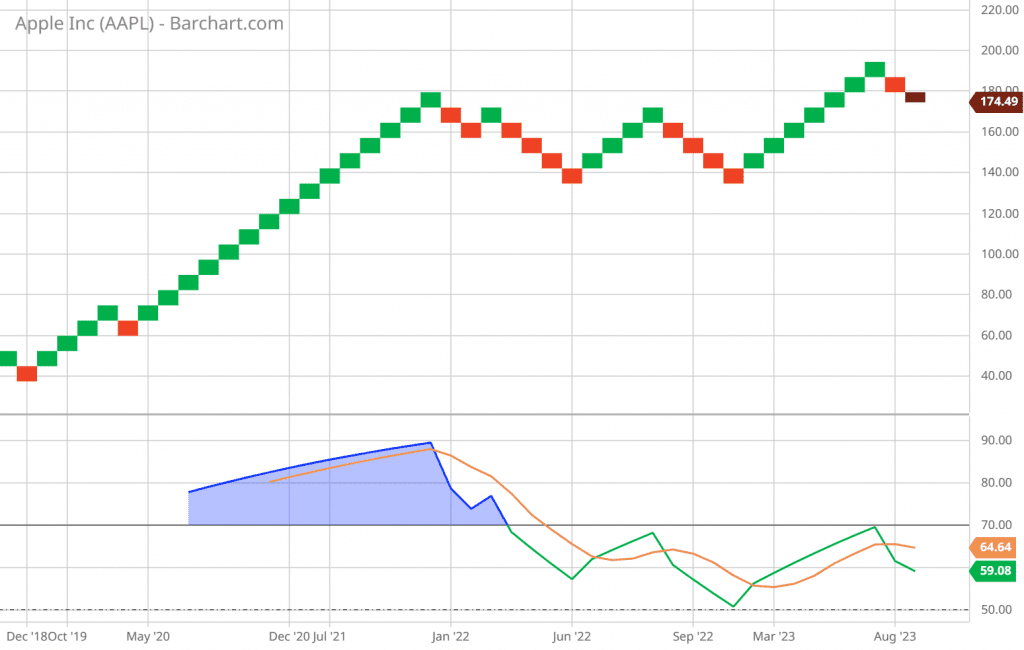
If you like pattern confirmation, RSI pairs nicely with W and M structures: Renko patterns cheat-sheet.
Moving Averages
Moving averages on Renko are a simple way to define bias and keep you from fighting the main move. Use them as a filter first, not as a signal factory.
- Entry: price holds on the trend side of the MA, then a confirm brick prints after a pullback.
- Exit: close back through the MA, or a swing break against the trend.
- Avoid: relying on MA crosses inside sideways ranges.
If you want a deeper MA walkthrough: how to use moving averages with Renko charts.
Indicators can help identify trend direction and possible entries, but managing risk matters just as much. Learning how to size positions on Renko charts can help protect your capital during volatile market conditions.
ATR and brick size
ATR is not my primary entry signal on Renko. I use it to set brick size so the chart prints meaningful structure. If brick size is off, indicators will feel random.
- Use ATR to tune bricks: higher ATR usually means you need larger bricks to reduce noise.
- Recheck after volatility shifts: big news weeks and fast trends can change the “right” brick size.
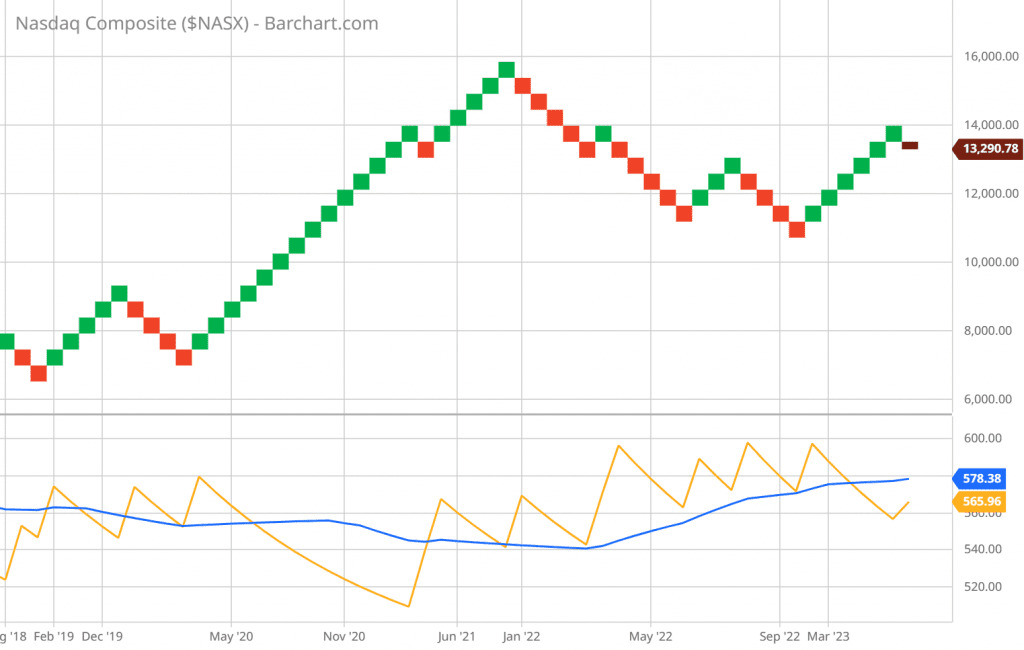
To dial this in quickly: Renko Brick Size Calculator and ATR vs fixed size Renko video.
FAQs
Do I need indicators for Renko charts?
Which indicator should I start with?
Can I use RSI with Renko charts?
How do I avoid overfitting indicator settings?
Further Reading
- Thinkorswim Renko setup guide
- Renko buy and sell signals (with examples)
- ATR Renko brick size (step-by-step)
- Renko Brick Size Calculator
- Renko day trading strategies
- Renko patterns cheat-sheet
🔔 Ready to Go Deeper?
If you found this guide helpful:
Education only, not financial advice. Test any approach on your own instruments, brick sizes, and timeframes.
