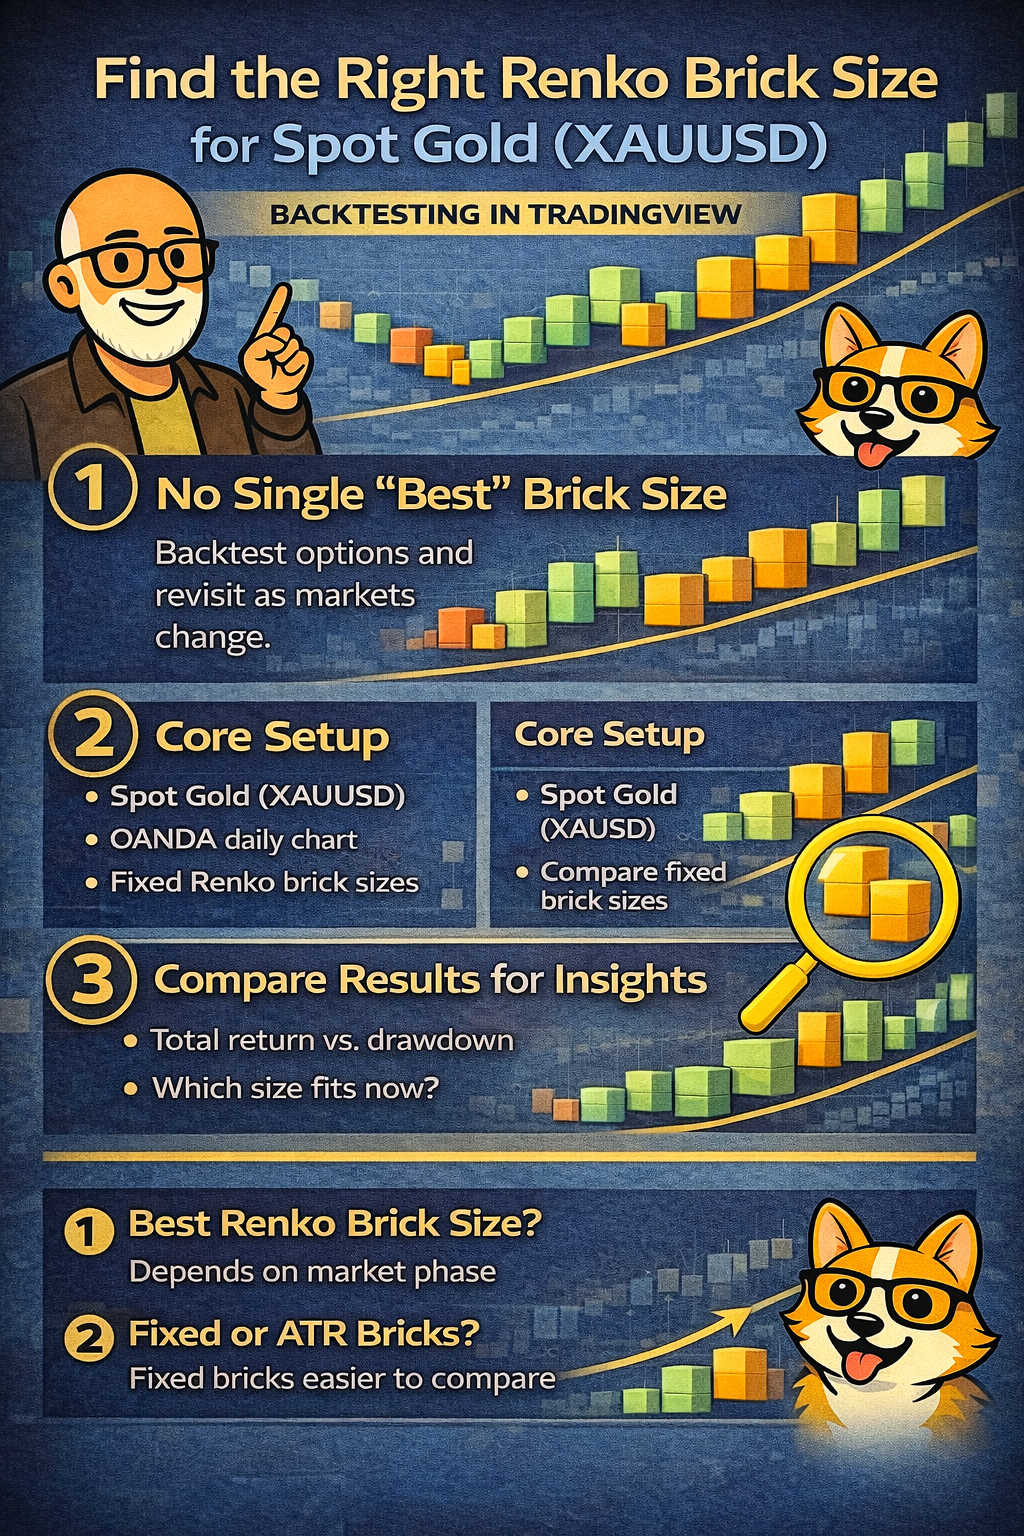
Renko brick size is one of the most important settings in Renko trading, and it is also one of the most misunderstood. Most traders want a single “best” brick size, but markets change over time. Volatility expands and contracts, and the brick size that works well in one market phase may not work as well in the next.
In this video, I walk through a practical process to find a good Renko brick size using real backtesting on TradingView. We use Spot Gold (XAUUSD) with OANDA data on a daily Renko chart, start with a fixed brick size baseline, then compare results across other brick sizes to see how performance shifts for this market phase.
This is an educational experiment, not a recommendation. The goal is to help you think more clearly about Renko brick size as a process, not to copy a single setting.
What You Will Learn in This Video
- Why there is no forever “best” Renko brick size
- How brick size acts as a volatility filter when volatility expands or contracts
- The simple price action strategy used for consistent testing (no indicators, no trendlines)
- How to set up Spot Gold (XAUUSD) OANDA daily Renko in TradingView for backtesting
- How to compare brick sizes using total return and maximum equity drawdown
- How to interpret results as a best fit for this market phase, not a permanent setting

Strategy Used in This Brick Size Experiment
To keep this test honest, I use a simple Renko swing breakout trend approach and hold everything constant so the only variable is the Renko brick size.
- Buy-side only
- Trend definition: higher highs and higher lows
- Entry: breakout after a confirmed reversal
- Exit: price closes below the most recent swing low
- No indicators
- No trendlines
- No support and resistance levels
- No predefined stop loss in this experiment (structure-based exit only)
Additional Resources for Further Learning
If you want to go deeper into Renko backtesting and brick size selection, here are a few helpful resources:
- Backtest Renko Charts Across Timeframes | Daily vs 4-Hour EURUSD
- Renko backtest: daily vs 4-hour EURUSD (video page)
- Renko buy and sell signals guide
- ATR-based Renko brick size calculation tips
FAQ
What is the best Renko brick size?
The best Renko brick size depends on the asset and the market phase. A brick size that works well during higher volatility may not work as well when volatility contracts. This is why backtesting a range of brick sizes is useful, then revisiting your setting when conditions change.
Should I use ATR brick size or a fixed brick size?
ATR brick size can be a great starting point because it reflects recent volatility. For testing, a fixed Renko brick size makes comparisons easier because you can run the same strategy and isolate how brick size changes performance.
How often should I reassess Renko brick size?
Most traders do not need to change settings frequently. A practical approach is to reassess on a schedule (such as every 1 to 3 months on the daily chart) or when the asset shows a clear volatility shift and your strategy behavior changes (more whipsaws, fewer quality trends, or a noticeable drawdown change).
What metrics matter most when comparing brick sizes?
Start with total return and maximum equity drawdown, then use supporting context like trade frequency and how cleanly the strategy captures trends. The goal is not the highest return at any cost. The goal is a strong fit for the current market phase.
