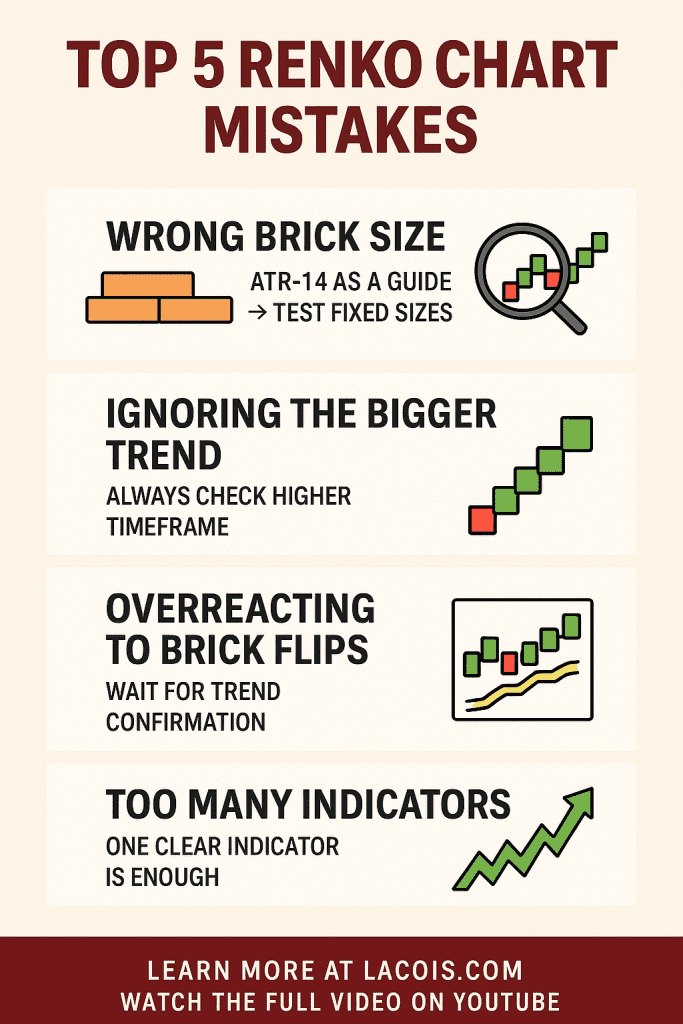
In this video, I break down the most common Renko chart mistakes and how to avoid them with clear, real-market examples. Renko charts can simplify trend detection and filter noise—but only if you use them correctly.
📌 What You’ll Learn in This Video
1) Choosing the Wrong Brick Size
Brick size is the foundation of Renko. If it’s too small, you’ll chase noise; too large, you’ll miss big chunks of moves. I start with ATR-14 as a guide, then compare fixed sizes to show how the experience shifts from “trade frequently” to “ride the trend.” For a deeper dive, see my guide to ATR-based Renko brick size calculation and this practical explainer on Renko buy/sell signals.
2) Ignoring the Bigger Trend
Lower-timeframe Renko may flash a reversal that simply doesn’t exist on the higher timeframe. I show a 30-minute vs daily comparison to explain why top-down confirmation matters. For additional context on reading trend structure, see Advanced Renko strategies for experienced traders.
3) Overreacting to Single (or Double) Brick Flips
Relying purely on color flips (even two-brick rules) often leads to false exits and re-entries. Focus on trend confirmation and structure instead. If you’re refining entries/exits, this walkthrough of Renko buy/sell signals will help you avoid whipsaws.
4) Overloading on Indicators
Renko already reduces noise. Adding four or five indicators creates conflict, not clarity. I demonstrate how a single tool—like SuperTrend (10, 4)—can be enough. If you want thoughtfully chosen add-ons, check out 5 dynamic Renko indicators or my Ichimoku strategies guide.
5) Chasing Reversals
Projecting tops and trying to nail every reversal can cut your winners short and force expensive buy-backs. The video shows why riding the confirmed trend often outperforms prediction. For more playbooks, browse advanced Renko strategies and this broader day trading strategies guide.

🧭 Quick Checklist: Avoid These Renko Chart Mistakes
- Start brick size with ATR-14, then test fixed sizes to match your goals and risk tolerance.
- Confirm signals on the higher timeframe before acting.
- Don’t trade every color flip—wait for trend confirmation.
- Keep your chart clean—one clear indicator can be enough.
- Ride the trend; don’t try to call every top or bottom.
🔗 Related Reading
- ATR-Based Renko Brick Size Calculation
- 5 Dynamic Renko Indicators
- Renko Buy/Sell Signals – How-To
- Advanced Renko Chart Strategies
- The Ultimate Guide for Day Trading Success
- Mastering Ichimoku Cloud: 9 Powerful Strategies
📊 Why This Matters
Renko charts are fantastic for clarity—if you avoid the classic Renko chart mistakes. Get the setup right, confirm the trend, and let winners run.
📢 Final Thoughts
If you found this helpful, please like the video and subscribe for more Renko content. For tools, templates, and strategy write-ups, visit lacois.com.
🎥 Watch More Renko Strategies on YouTube
If you enjoyed this breakdown of Renko chart mistakes, you’ll find even more tips, backtests, and tutorials on my YouTube channel. 👉 Visit my YouTube Channel here
