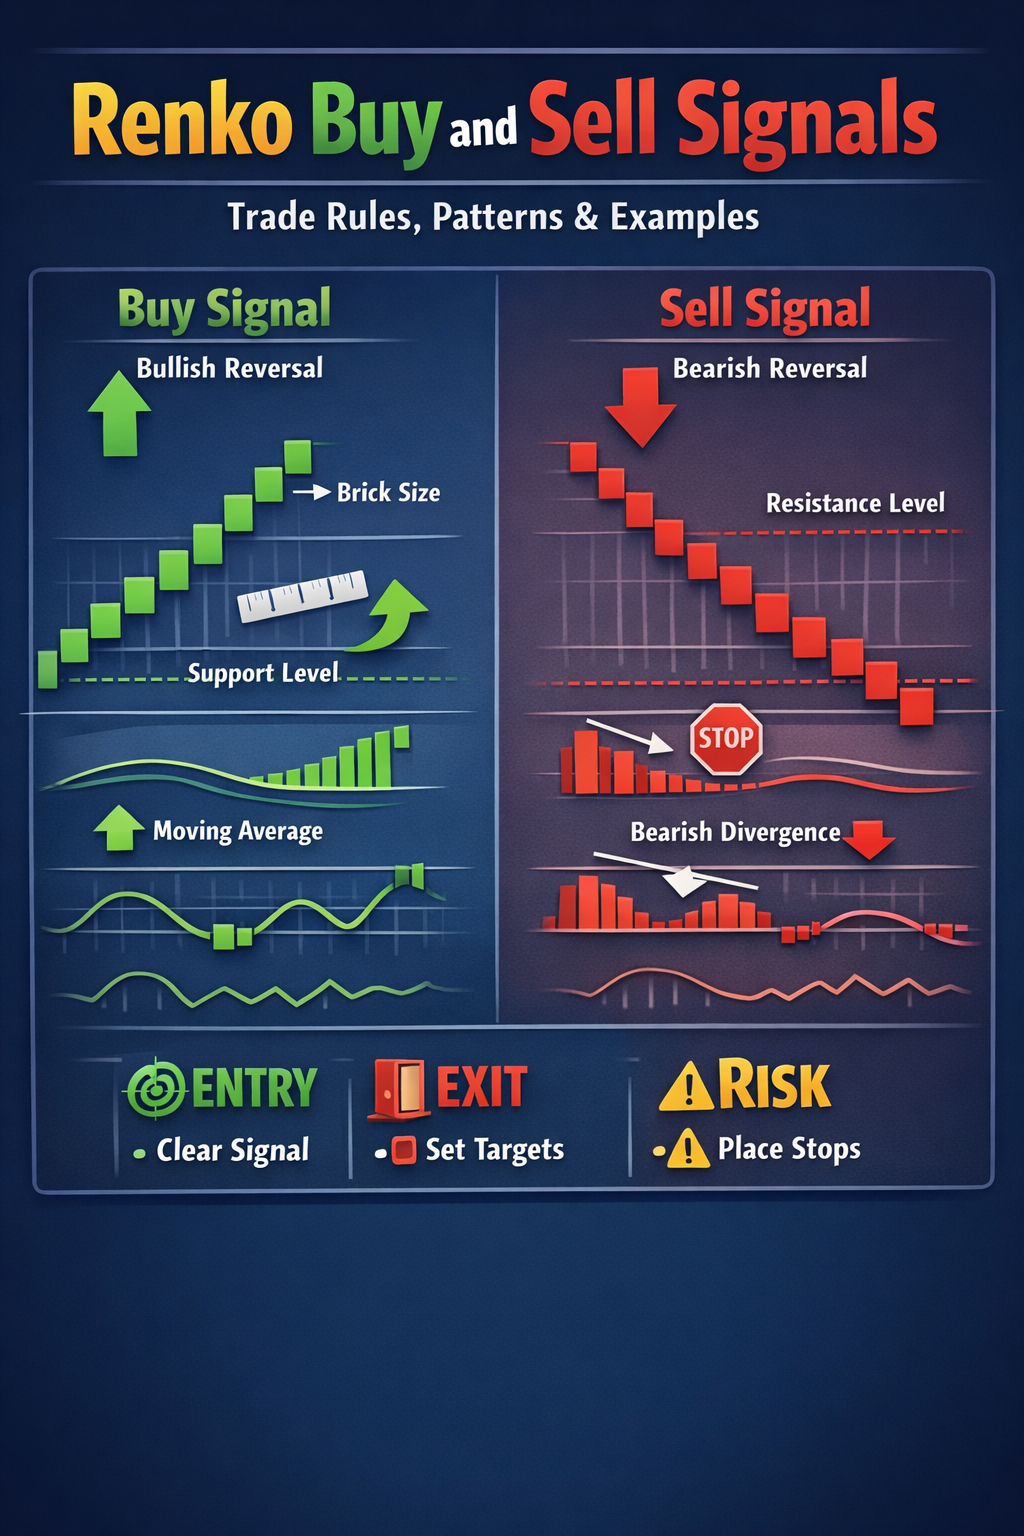
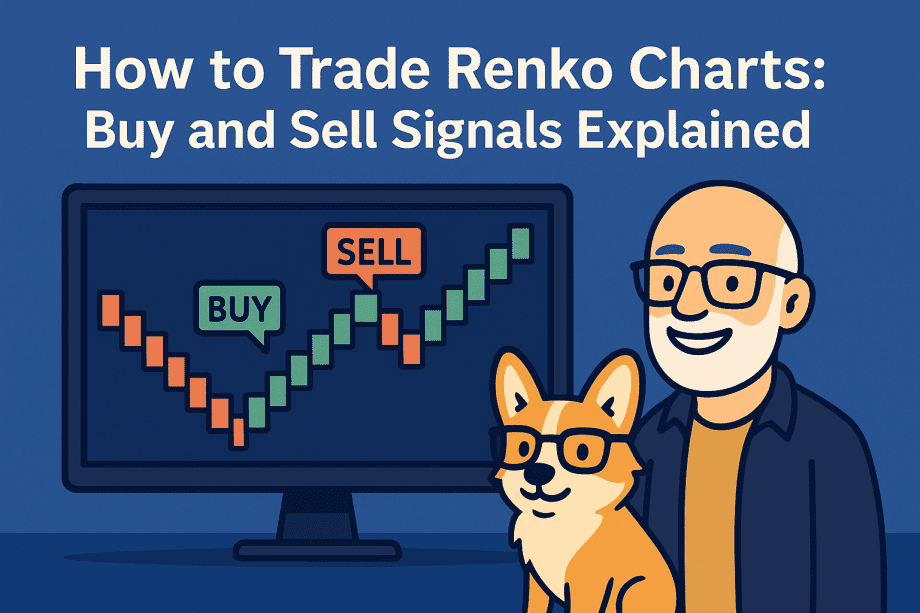
Updated December 2025. Renko buy and sell signals are trade cues that appear when bricks break key swing levels or a pattern confirms a reversal. Because Renko is price-based (not time-based), these signals can be easier to see and test than on candlesticks.
This page is a rule-based playbook you can follow in order: choose brick size, define trend bias, wait for a break, require a confirm brick, place a logical stop, then manage the trade with a simple trailing rule.
Quick Signal Checklist (TL;DR)
- Brick size first: consistent bricks produce consistent signals. Start here: ATR Renko brick size guide. Before trading signals, make sure your setup is aligned using Renko brick size wicks reversal confirmation. Then validate it with Renko brick size backtesting in TradingView.
- Trend bias: higher highs/higher lows = look for buys; lower highs/lower lows = look for sells.
- Trigger: first brick that closes beyond the prior swing (breakout of structure).
- Confirm: one confirm brick beyond the level, or a clean pattern confirm (W/M/H&S). See how early vs confirmed entries change results in this Renko entry timing: early vs confirmed entries comparison.
- Stop: 1 to 2 bricks beyond the invalidation swing.
- Manage: trail to last swing, or trail by 1 to 2 bricks.
Want indicator confirmation? Use one, not five: Renko indicators with rules.
Thinkorswim users: standardize setup first: Renko charts in Thinkorswim setup guide.
Prefer video walk-throughs? I post Renko setups, signal examples, and backtests on my YouTube channel: Renko Trading Channel.
What is a Renko chart?
Renko charts are price-only charts that draw a new brick only after price moves a set amount. This filters small fluctuations and makes swing structure and trend direction easier to see.
- Candlesticks: show every time interval, including a lot of noise.
- Renko: prints a new brick only when price moves enough to matter.
If you want the beginner overview first, start here: Renko charts beginner guide.
Brick size choices
Brick size is the most important setting because it controls how often signals appear. Bricks that are too small create too many flips. Bricks that are too large can hide early structure.
| Method | What it does | Best for | Tradeoff |
|---|---|---|---|
| Fixed brick size | Same brick size all the time | Learning, consistent visual structure | Does not adjust when volatility changes |
| ATR-based brick size | Brick size adapts to recent volatility | Staying aligned as markets speed up or slow down | Signals can change when volatility shifts |
Use this as your brick-size foundation: ATR-based Renko brick size strategy. If you prefer a video format, use: Traditional vs ATR Renko.
Cheat sheet: Renko buy and sell signals
| Aspect | Buy (bullish) | Sell (bearish) |
|---|---|---|
| Trend bias | Higher highs and higher lows | Lower highs and lower lows |
| Trigger | Brick closes above prior swing high | Brick closes below prior swing low |
| Confirm | One confirm brick, or W confirm | One confirm brick, or M confirm |
| Stop | 1 to 2 bricks below the invalidation swing | 1 to 2 bricks above the invalidation swing |
| Manage | Trail below swing lows or trail 1 to 2 bricks | Trail above swing highs or trail 1 to 2 bricks |
Stops and targets are what turn Renko signals into a complete strategy. For a deeper breakdown of how to place exits using structure, bricks, and trailing logic, see Renko stop loss and take profit, which compares seven exit methods and when each one works best.
Optional indicator confirmation is fine, but keep it simple. If you want a structured approach: best Renko indicators (with rules).
Buy signals: full rules
- Define bias: confirm the market is making higher highs and higher lows.
- Mark the swing high: identify the most recent clear swing high (structure level).
- Trigger: a bullish brick closes above that swing high.
- Confirm: wait for one more bullish brick to close beyond the level, or a W confirm if you are trading reversals.
- Stop: 1 to 2 bricks below the invalidation swing low.
- Manage: trail below new swing lows, or trail by 1 to 2 bricks once the move starts running.
Exits matter as much as entries. If you want a dedicated exit framework, use: 5 Renko exit rules every trader should know.
Sell signals: full rules
- Define bias: confirm the market is making lower highs and lower lows.
- Mark the swing low: identify the most recent clear swing low (structure level).
- Trigger: a bearish brick closes below that swing low.
- Confirm: wait for one more bearish brick to close beyond the level, or an M confirm if you are trading reversals.
- Stop: 1 to 2 bricks above the invalidation swing high.
- Manage: trail above new swing highs, or trail by 1 to 2 bricks on strong drops.
Pattern confirmations: W, M, head and shoulders
Patterns are not magic. They are a structured way to avoid taking every small color flip. Use them as a second “yes.”
- W pattern (bullish): two swing lows, then the breakout brick closes above the middle swing high. Require a confirm brick above the breakout.
- M pattern (bearish): mirror of W. Two swing highs, then the breakdown brick closes below the middle swing low. Require a confirm brick below the breakdown.
- Head and shoulders: neckline break plus confirm brick. Stop goes beyond the right shoulder (in bricks).
If you want a focused pattern guide, use: Renko patterns cheat-sheet and W pattern trading strategy.
Risk and trade management
- Size your trade using bricks: if your stop is 2 bricks away, define that as your 1R risk and size accordingly.
- Trail using structure: last swing is usually cleaner than a fixed “take profit.”
- Stand aside in ranges: most Renko losses come from range-chop, not from trends.
Before placing a trade, it also helps to decide how much capital you want to risk on each setup. This is where Renko position sizing becomes especially useful.
If you want to see how I apply Renko signals in long-term decisions, see: Renko investing strategy.
How to avoid whipsaws
Whipsaws usually happen when you trade every color change instead of waiting for structure to break. These three filters do most of the work:
- Structure filter: only trade after a swing break, not a single opposite brick.
- Confirm-brick filter: require one extra brick beyond the level before entry.
- Trend filter: if the higher time frame is up, prioritize buys and be stricter with sells (and vice versa).
Trendlines help a lot here. If you want a clean indicator companion that is easy to test, see: Renko indicators with playbooks.
Entries and exits make more sense when viewed as part of a complete system. You can see how everything connects inside my full Renko charts guide.

FAQs
What are Renko chart buy and sell signals?
Do I need indicators to confirm Renko signals?
Why do Renko charts chop in ranges?
How do I place stops on Renko trades?
Education only, not financial advice. Test any approach on your own instruments, brick sizes, and timeframes.
